Monday 26 August 2013

Oldies Birthdays Celebration


Good Morning Everyone,
 
Well today's post should have been posted yesterday but I have been without my Internet for the last 36 hours ..GGrrr..
 
So anyway onto todays post.
 
This layout I have created was created for the Electic Ellapu challenge of "Oldies Birthday"
The theme actually really helped me, my husbands Gran celebrated her 90th Birthday last November and I have been trying to scrap the page but kept putting it off so this was the perfect excuse to get the page scrapped.
 
 
The page is a 12x12 scrapbook with multi layers.
The backing paper is a plain white 12x12 card stock which I then used Shabby Chick Fran-Tage around the edges to give it a bit of glitter and glam.
The next layer was cut at 11 3/4 x11 3/4 and then punched all around using a heart border punch (I believe it was an X-Cut punch

The photo mat is for a standard 6x4 mat which has been layered in 1.4 inch increments. The flowers are cut using the cricut machine and are the same flowers that I used on her Birthday Card.  All the other cuts are also from the cricut except for the journal panel, which is a rectangle from spellbinders!


To give the layout a bit more bling I finished it with glitter, gems, ribbons, lace, and liquid pearls.


The completed page


Showing the border punch and the "Happy Birthday" due cut
 
 
The butterfly with the liquid pearls down the centre of it and around the swirl


The Flowers


I am entering this layout into the following challenge
 

Challenges 4 Everybody - Anything Goes - 1/09


I hope you all like the layout and have a great bank holiday weekend.
 
Crafty Hugs
Kelly
xxx

Friday 23 August 2013

Get Your Skates On!

Good Morning Everyone, 

Today is the start of a new challenge over at Patties Creation Challenge Blog. This weeks theme is "Anything Goes" Just remember you need to use a digital or stamped image to join in and of course we would love you to use one of Patties designs.

The card I made is a Christmas Card using her ice skate design. I love this image it is perfect for Christmas. I decided to go for a traditional look for this card and used lots of Green on it. 

I finished the card of with snow flakes, lace, ribbon, glitter, mirror card, card candi and a sentiment.


 The challenges I would like to enter this into are:-

A.R.T. Card Challenges #11 - Anything Goes - 29/8
Aud Sentiments Challenge Blog # 87 - Anything But A Birthday Card - 29/08
Crafty Ribbons Challenge #58 - Anything Goes with Ribbon - 29/08


Thanks for stopping in, hope you are all well and I look forward to seeing you back soon!
Crafty Hugs
Kelly
xxx

Wednesday 21 August 2013

Wish upon a snowflake


 Good Morning Everyone, 

Hope you are all having a lovely day. 

First of all I would like to say a big thank you to all my new followers and a massive thank you to everyone who has left very kind comments over the last few weeks. I really do appreciate it!!!

The card I have for you today is another Christmas card - I no you are probably sick of them by now, but I do like to be organised lol !

The card I made today is an easel card  I made using the Grand Nestabilities Label 1. 

I shared another card using the same method, and I got asked on a forum how I made it, so this time I took some step by step instructions. Hopefully these will help anyone to recreate the card in your own style.  I have created a new sub page within my blog at the top saying "step by step" and I am going to try once a month if not more, step by step instructions on how to recreate a card or layout!


 The image is from LOTV and is coloured in using a selection of promarker pens.
To create the shape as above I used the Grand Nestie Label 1
I used a spellbinder die to create the fancy edge around the image
The image was completed with glitter for snow, and liquid pearls as additional texture to create "falling snow" 
The snowflake are from the Joys of the Season Cartridge from Cricut
The card was completed with a sentiment, handmade bow, and gems - gems have to be my favourite thing on a card, they can make a card from oh that's okay to oh that is really nice!

All the card stock is from Papermill Direct


I am entering this card into the following challenges.

ABC Challenge - Lots of Layers At least 5 (blue layer, paper layer, border around image, image and snowflakes) -26/08
Card Mania # 27 Your Favourite Embellishment - 26/08 - Gems
The Cheerful Stamp Pad - Your Choice - 2/09
C is for Challenge - #4 Animals - 26/08
Crafty Desert Diva's - Anything Goes 26/08
Crafty Boots Challenge - Christmas In August - 1/09
The Cutie Pie Challenge Blog - Anything Goes 2/09
Lexi's Creation #97 - Sparkle and Shine - 26/08
Stamp and Create - August Challenge - Glitter - 02/09
The Crazy Challenge - #152 Animals - 02/09
The Paper Nest Dolls Challenge Blog - Shaped Cards - 02/09

Thanks for popping over, hope you have a great day
Crafty Hugs
Kelly
xxx

Sunday 18 August 2013

Cosy and Warm

Good Afternoon Everyone, 

Hope you are all having a great weekend. My poor Labrador has been poorly again, so we have had lots of visits to the vets this last week, including a quick trip to the emergency vets yesterday. Keeping fingers crossed for a better week this week. Anyway whilst he has been poorly I have stayed in with him, so been able to get lots of card making done. 

The card I am sharing with you today is a card I have made using a Lili of the valley stamp, called Cosy and Warm I love LOTV stamps, they are fantastic quality and at a super price (and no I am not associated with them just a very happy customer of theirs) 

The card I made is 73/4 x 7 3/4 (making sure this one will fit in my 8x8 envelope)  I used hammered white card stock and red card stock from The Papermill Direct. 

I used promarker pens for the colouring, do craft digital designer for the paper which is holly and ivy leaves. For the die cut around the image I used spellbinders scalloped circle and normal circles. I also used the spellbinders A2 Curved Border set and Radiant Rectangles for the sentiment. The holly leaves where cut from the cricut machine and the large white and red roses are handmade. I started with three 5 petal flowers cut from the cricut for each flower and coloured and folded to create the rose. I then added additional flowers from my stash to give extra details. To finish the card I added a corner die, four red pearls and fake stitched around the layers in a white pen. 

The Card
 The Image
 The Flowers
 The Dimension on the card

The card Sidewards 


The Challenges I am entering this card into are:-

Crafty Calender Challenge - Anything Goes - 8/09
The Krafty Hands - Anything Goes 6/09
The Hobby House Challenge Blog- Christmas - 30/08
Christmas Stampin' All Year Long - Christmas Stitches - winners announced 26/08
Creative Corner Challenge - Anything Goes -23/08
Jingle Belles - Lets Play Christmas Tic Tac Toe - Die Cut, Red/Green, Dry Embossing -28/08
LOTV Ideas to Inspire- Challenge Blog- Make It Festive - Winner announced 02/09


Hope you like the card and I will have another card for you on Tuesday

Crafty Hugs
Kelly
xxx

Friday 16 August 2013

Jolly Holidays - Part 2

Good Morning Everyone, 

Today I am back with the second part of the JOLLY HOLIDAYS 12x12 double layout. 

If you missed page one it is here 


I am really happy with how the page come out and it is one of my favourite layouts. 

The page 
 The star elements
 The little girl elf
 The complete double layout

All the measurements for the second page are the same for the first page, expect for the photo mats and embellishments. 
Adult Family mat - photo is 51/4 x 3 inch and the two mats go up in 1/4 increments
The children mat - photo is 41/2 x 4 inch and the two mats go up in 1/4 increments
Wording Holidays - was cut using Plantin School Book from the Cricut and cut at 2 inch
The stars are from Create a Critter 2 and cut at 2 inch
The number are from Plantin Schoolbook and cut at 3/4 inch
Elf Girl is cut at 4 inch and I used a mix of dolls clothes to make her, the hat, leggings, boots, neck piece, and belt are from elf boy, her hair is from cow girl and her dress is from pirate girl. 

Again all the edges are distressed with red distress ink, the holly leaves are from cardboard elements from a scrapbook kit I got from the Range many years ago. 
To finish of the page, I have added glitter around the page, faux stitching to the wording and gems on the bows of the stars. 


The challenges I would like to enter this into are:-
 
C.R.A.F.T - Christmas - 22/08
Delightful Challenge - Anything But A Card - 22/08
Crafting By Design - Anything Goes - 21/08
Creative Belli Blog- #176 - Glitter  - 21/08
Divas By Design - Christmas - 21/08
Rhedd and Rosie - Use Red - 21/08


That is it for me for today. 
I will be back on Sunday with a new card. 

Thanks for popping in, 
Crafty Hugs
Kelly
xxx

Wednesday 14 August 2013

Jolly Holiday - Take 1

Good Morning Everyone, 

Hope you are all well?

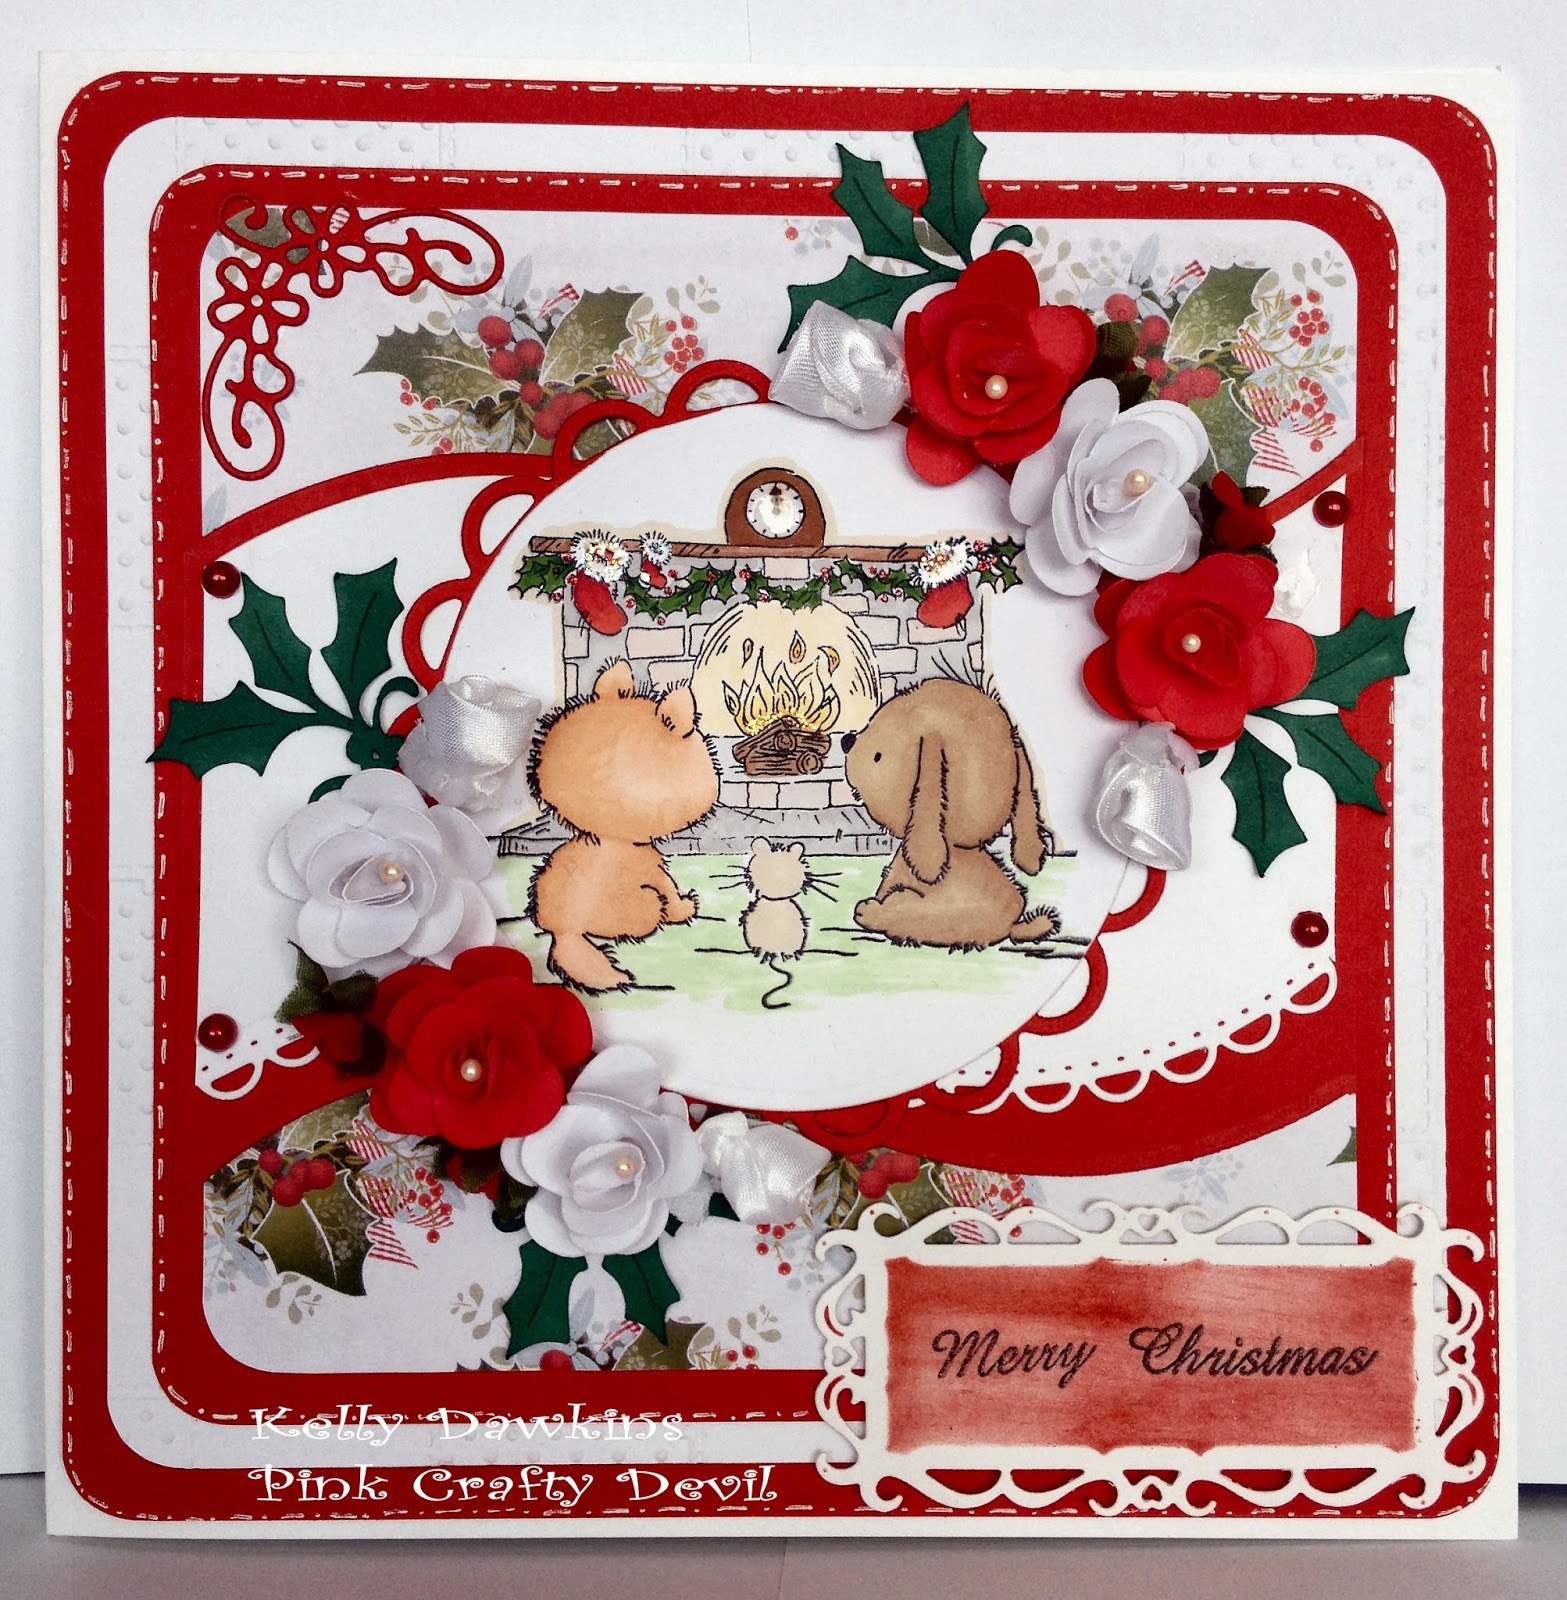
Today I have for you the first page of a double 12 x 12 layout that I have been working on for the last few days.

It has taken a long time to get this all together, but I love it! One of my favourite layouts I have done so far. 

I took the inspiration for this page from my brother, he turned up on Christmas day wearing a green jumper and a green Santa hat and he looked like an elf. So for the day he was called Elfie! 

So I took using him as inspiration and created my page with the amazing elf.

Please bear with me this post may go on for a while as I made sure I wrote down all the measurements for you, so if you wanted to re-create any of the elements you could. 

A couple of tips for you 
1. Don't make your page 12 x 12 they don't always fit in the pockets, so I make mine slightly smaller then they should be - just in case
2. If you don't have a lot of the same coloured card, and your not sure you will have enough to finish the project, then use white card and colour with alcohol pens.

First tho the pics. 


Now the measurements - okay here goes deep breath
White base card 11 3/4 inch
Red centre mat - 51/4 x 11 1/2 inch
centre paper mat - 5 x 11 1/4 inch
Red top and bottom mat - 3 x 11 1/2 inch
Top and bottom paper mat - 3 (minus 2 little marks on cutter - so i measure it to 3 inches then moved it down towards the 2 inch by 2 little marks.. hope that makes sense) and 11 1/4 inch
Red Photo mat (single person photo)   3 x 4 1/2 inch
White photo mat (single person photo) 2 3/4 x 4 1/4 inch
Photo (single person photo) 2 1/2 x 4 inch
Elf is cut at 6 inch using the Paper doll dress up cartridge on the cricut machine
He is coloured in using promarker pens
Letters "Jolly " are cut at 2 inch using Plantin Schoolbook
JOY embellishment is from Create a Critter 2 and is cut at 2 inch

I finished the layout of with lots of glitter, glitter on the berries, on his shoes to show like little bells, and on his hat. The corners and holly are embellishments from a set I purchased many years ago and are cardboard cut out shapes I know I got these from the Range but I haven't seen them since I got them. On the elf I drew on his little face, gave him some some eye lasses, dotted a white pen into his eyes chalked Rosy cheeks onto him and gave him some freckles using a fine brown marker pen. I also went over all my layers and cuts with coordinating distress inks - eg the red was edged with red distress ink the green with green ect.

To give the elf some character I ran his clothes through my Cuttlebug with the Swiss dots embossing folder, I thought it made him looks so cute, and preferred this look to just a plain coloured in coat and shoes. 

So there you go this is the first page of the double spread layout. 

The second page is getting some finishing touches done to it and it will be up on Friday

The challenges I would like to enter this into are:

Cuttlebug Mania - Embossing - 20/8
Holly Jolly Christmas - Glitter - 20/8
Papertake Weekly Challenge - Occasion-ally - 20/8 (occasion Christmas)
Sweet Stamps - Bling - 20/8
Through The Craft Room Door - Anything Goes - 20/8
Top Tip Tuesday - #107 Embossing - Any Kind - 20/8 - tip


Well That is it for me, I hope I haven't bored you with the super long post, but I hate it when I see a layout I really like and no measurements or cartridge names are included in the write up. 

Don't forget to pop back Friday for a peek at the second page and to see what they look like together. 

Thanks for hopping in
Crafty Hugs
Kelly
xxx

Monday 12 August 2013

Monday Inspiration - Crafty Bloggers Network

Good Morning Everyone, 

Hope everyone is well, did you enjoy your weekend?

Today is Inspiration Monday over at Crafty Bloggers Network. This months theme is "Favourite Things" 

We got to play with the Sarah Hurley digi kit. Bookworm which is also our prize this month. 

For my second layout using this digi kit, I did another digi scrapbook page. 

This time I created a 12 x 12 Scrapbook page - my Favourite thing at the moment is scrapbooking - it is taking over cards at the moment.

I started by choosing my photo - I have blanked it out - and then worked from there, the photo I picked was one of me celebrating passing my Special Needs Teaching Assistant Qualification. 

I used the pink backing papers as pink is my favourite colour. I decided on putting a banner of books on the bottom of the page to replicate my book case that is now full of book on special needs. and I used Sarah's little girl carrying books to replicate me carrying my books around college. 

I still not convinced on the digi scrapbooking, but proud I have stuck with it and created two layouts. I think tho personally for me I like the feel of the paper in my hand, and getting crafty with my cricut and my inks, but it is a new technique that I have learnt, I might have a go at hybrid scrapping (a bit if digi and a bit of regular scapbooking) and see how that goes.


The Challenges I am entering this into are:-
The Kraftyhands Challenge - Anything Goes - 7/9
One Stop Craft Challenge - Pastel Colours - 17/8


Thanks for taking the time to have a look and I will be back later in the week with more scrapbook pages, this time a double layout using the cricut machine :-) 


Crafty Hugs
Kelly
xxx

Sunday 11 August 2013

Art Deco Christmas

Good Morning Everyone, 

Today is the start of a new theme over at Eclectic Ellapu this weeks theme is by the pink team, and the theme is Art Deco.

I must admit, a chill ran through me when I found this out, I don't do art deco and had no idea, what to do with it. 

I have also been wanting to have a go at clean and simple design idea, so decided to have a go with a Christmas tag. I decided to keep my embellishments to the minimum, and use an art deco design for the tag.

I stayed with the red and white theme added a few layers, a piece of ribbon and some card candi - probably not quiet clean and simple, but it is the start.

Anyway here is the tag


The challenge I would like to enter this into is:

Brown Sugar - Anything Goes - 16/8


Thanks for popping in, next week I have some scrapbook pages coming up, so be sure to pop on in.

Crafty Hugs
Kelly
xxx

Friday 9 August 2013

Fairy Dust

Good Morning Everyone, 

Well this week has certainly flown past hasn't it?

Today is the start of a new challenge over at Patties Creations Challenge Blog

This weeks theme is "EMBOSSING" this can be either dry or heat embossing, and don't forget the only rule to the challenge is you must use a digital or stamped image, of course we would love to see a Pattie's image on your cards, and don't forget she does a freebie Friday, this is the first Friday of every month. 

My card has been made using "Bella" 

For my embossing I used both dry embossing  - Used a Crafter's Companion a4 embossing folder for this one - think it is called patchwork. The second lot of embossing was done using the heat embossing technique and to use this I used Fran-tage to give it some sparkle. 

To finish the card of I added a sentiment, liquid pearls, swirls die cut, flowers and gems, and the image was coloured using promarker pens, and cut using spellbinders labels 23 grande and went around the edge of the card using a fine liner to give it some faux stitching.

Here is the card and close ups of the embellishments. 

 The Card
 The Fairy
 The Swirls and liquid pearls


The challenges I am entering this in to are:-
The ABC Challenge - S for Stitching - 15/8
Fussy and Fancy - Bingo  - (Flower, Free, Diecut) 16/8
In the Pink - Birthday - 15/8
MilkCoffee Challenge - Show us those colouring skills - 15/8
My Heart Pieces Digital Stamps - Stitching Real/Faux - 15/8
Southern Girls Challenge - Things Beginning with F-  15/8


Monday 5 August 2013

Crafty Bloggers Network - Favorite Things


 Good Morning Everyone

Today is the start of the new challenge over at Crafty Bloggers Network this months theme is "Favourite Things" 

Our Sponsor this month is Sarah Hurley and she kindly gave all the Design Team a copy of her digital kit, Book worm to make this months creations with and has said that this would be the prize for the winner of the challenge

Here are a few words from Sarah to introduce you to her, especially for anyone new who might not have heard about Sarah before. 


A Few words from Sarah
Crafter, Illustrator, Artist, Writer, Designer - my days are usually pretty full!
I have my own range of craft products (which I launched in 2010 on the Create & Craft TV Channel) and I'm lucky enough to work with some of the leading companies in the art and craft world, designing for companies such as Silhouette, Letraset, Derwent, Sizzix, Pentel, Personal Impressions and many others! I am published regularly in craft magazines including Making Cards, Papercraft Inspirations and Cardmaking & Papercraft and I am a Guest presenter on Create & Craft and Ideal World TV. My line of products has now moved into retail with the addition of cards, gifts and jewellery


So this month with us getting a digital kit, I decided to have a go at a digital scrapbook layout.

This is the first one I have done from start to finish, normally I only play around with the programs to see what they can do. I found it a challenge in it's self working out where all the tools on the program was. As our theme is favourite things, I decided to do my layout remembering about the books I used to read as a child and my favourite author who was and still is Enid Blyton. 

So here is the layout

Recipe
Teal coloured backing with brown date stamp
Brown polka dots backing paper
Little girl reading 
Book worm title
Date stamp
Book


The challenges I would like to enter this into are
2 Sisters Challenge - Anything Goes - 10/8
Creative Corner Challenge - Polka Dots - 9/8


Thanks for popping in have a great day
Crafty Hugs
Kelly
xxx

Thursday 1 August 2013

Just For Fun - Anniversary Wishes

Good Morning Everyone, 

Today is the start of the brand new challenge blog created by Elaine. The challenge blog "JUST FOR FUN" starts with it's first challenge of "Anything Goes" 

The DT have done an amazing job on their creations and I am so lucky to be part of a talented team. 

The card I have used for this months theme, is a card I created for my dad to give to my mum for their wedding anniversary. 

I have used one of my favourite colour combinations Purple and Cream to create the card. 
The cream blank has been embossed using an embossing folder, the feature of the card is a die cut from mariannes, the champagne glasses, quilled flowers and the leaves are all cut using my cricut machine. 


 I would like to put this card forward for the following challenges.

 Crafting By Design - Anything Goes - 7/8
Diva's By Design - Favourite Colour Combo - 7/8 
Inkspirational - Anything Goes - 7/8
Paper Crafting Journey - Die/Punches - 8/8
Die Cutting Divas - Anything Goes -  6/8


 Thanks for popping in, I do hope you will pop over to the "Just for fun" challenge blog and join us for the first challenge.

Crafty Hugs
Kelly
xxx